Match the recorded quest before following its route
This walkthrough uses a recording uploaded August 31, 2026. Its event path is historical: the same quest, NPCs and gate must be present in your session before these directions apply. A vehicle-sale timer elsewhere in the game does not confirm this quest is active.
Use the next objective as the handoff between stages. The video compresses travel and repeated actions; the route index is a navigation aid, not a measured completion time or proof that one win or delivery fills an entire stage.
Start with Kirana at the pavilion
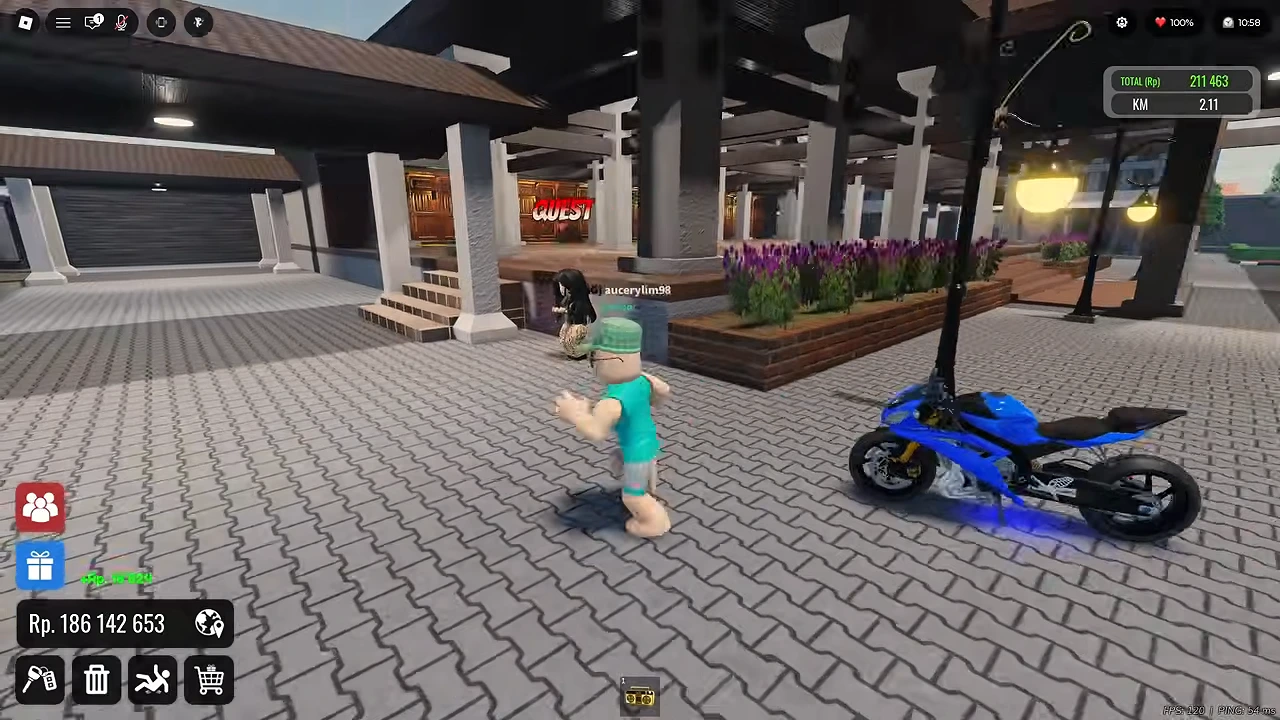
From the recorded central plaza, the video follows the road and raised section to a pavilion. Kirana stands beside its steps under a red QUEST marker. Approach and interact to read her dialogue.
Kirana explains the delivery constraint: carry one torch for one house, then repeat. The tracker starts with the villagers’ cooking hearths at 0/26. Begin the first pickup behind the pavilion; do not try to collect all 26 into one load.
Repeat pickup, ignition and delivery
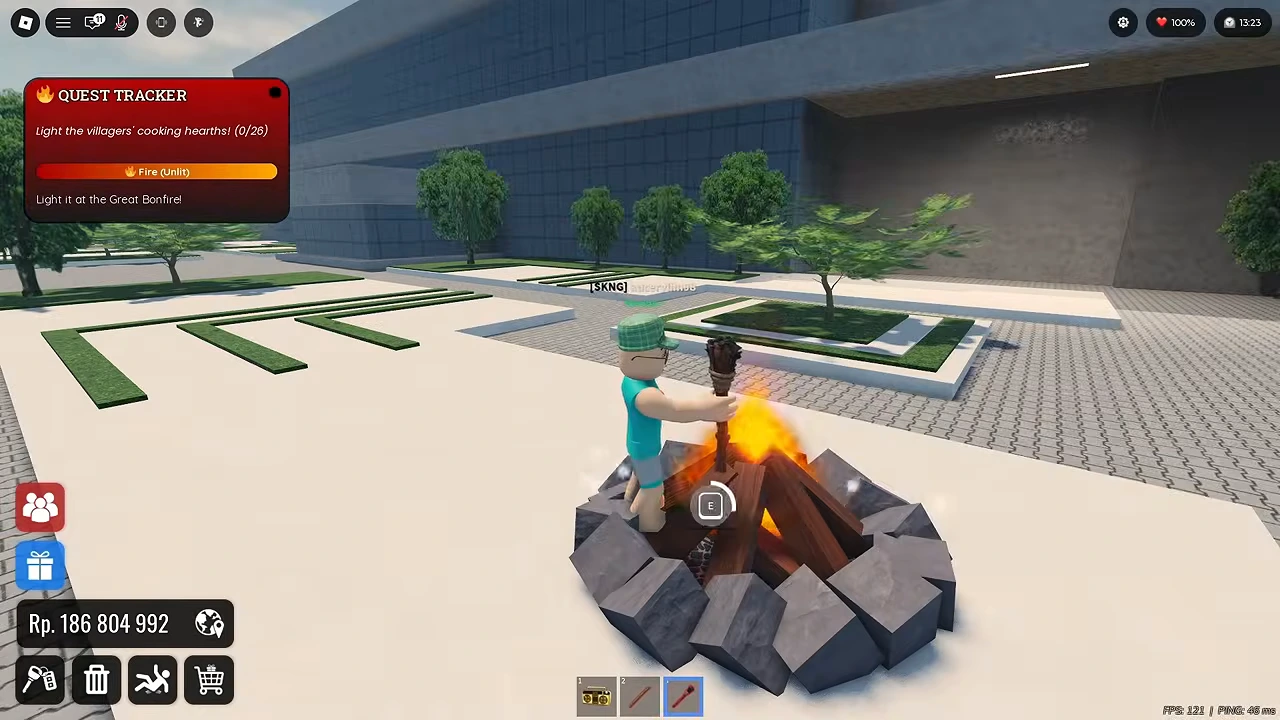
The first sequence collects the wall-mounted torch behind the pavilion, returns to the Great Bonfire in the plaza and uses its E prompt. With Fire (Lit) visible, the player follows the marked destination to a cooking hearth and interacts there. The result changes the counter to 1/26.
While carrying the flame, the tracker tells you to stay under 100 km/h. In the demonstration the flame bar falls while the rider exceeds that speed. Use the tracker’s state rather than assuming a visible trail means the flame will survive the trip.
For each next delivery, locate its torch, ignite it at a Great Bonfire and carry it to the marked hearth. Confirm the counter change before leaving. If Fire (Unlit) appears, return to a bonfire before trying to finish the delivery.
- Pick up the next torch using its displayed interaction.
- Use a Great Bonfire and verify Fire (Lit).
- Carry it to the marked hearth while observing the speed warning.
- Use the hearth interaction and verify the counter advances.
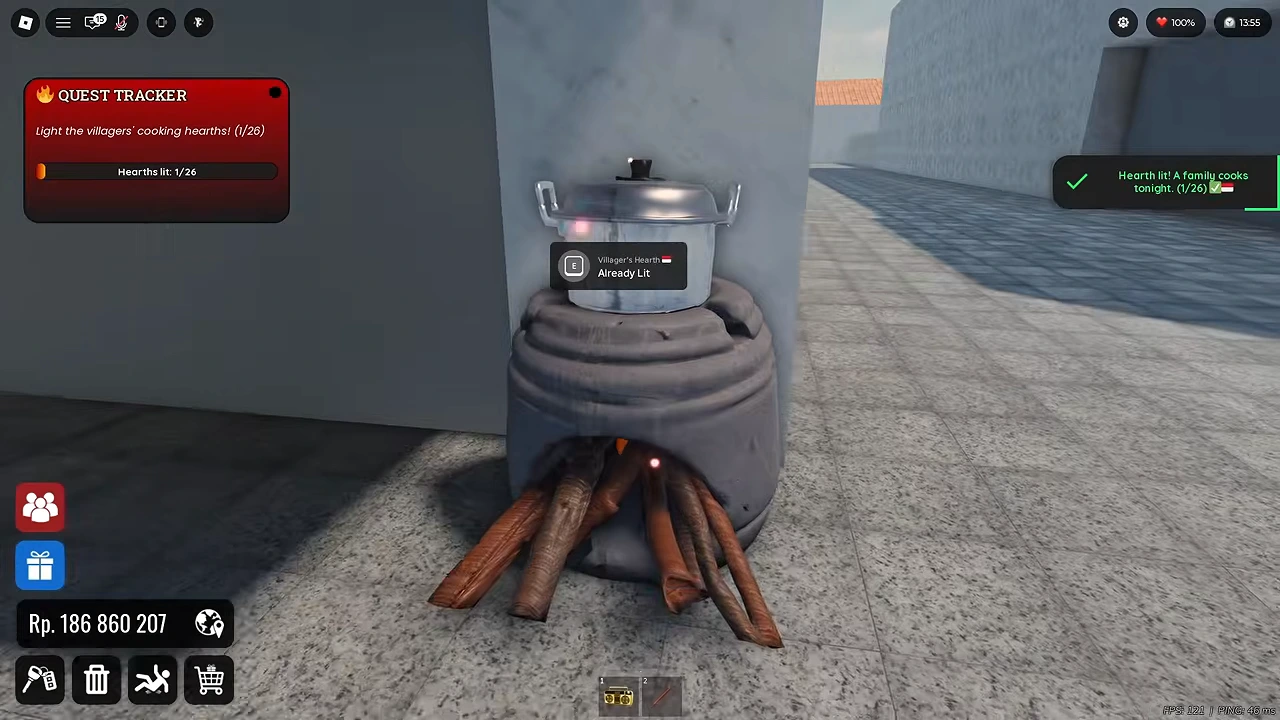
Use the location index in the recorded order
The source groups its 26 location segments into Surakarta, Pettarani, Sentul, Mandalika and Bandung. Each numbered link below opens the corresponding pickup-and-delivery segment; keep the video running through the bonfire and destination rather than treating its opening frame as the hearth location.
This index preserves the author’s route order. Your current counter and quest marker take priority if you already completed some deliveries. Record the last successful number before changing areas.
| Recorded segment group | Location numbers | First segment |
|---|---|---|
| Surakarta | 01–09 | 1:01 |
| Pettarani | 10–15 | 6:30 |
| Sentul | 16–18 | 10:07 |
| Mandalika | 19–21 | 11:41 |
| Bandung | 22–26 | 14:18 |
Return after the 26/26 result
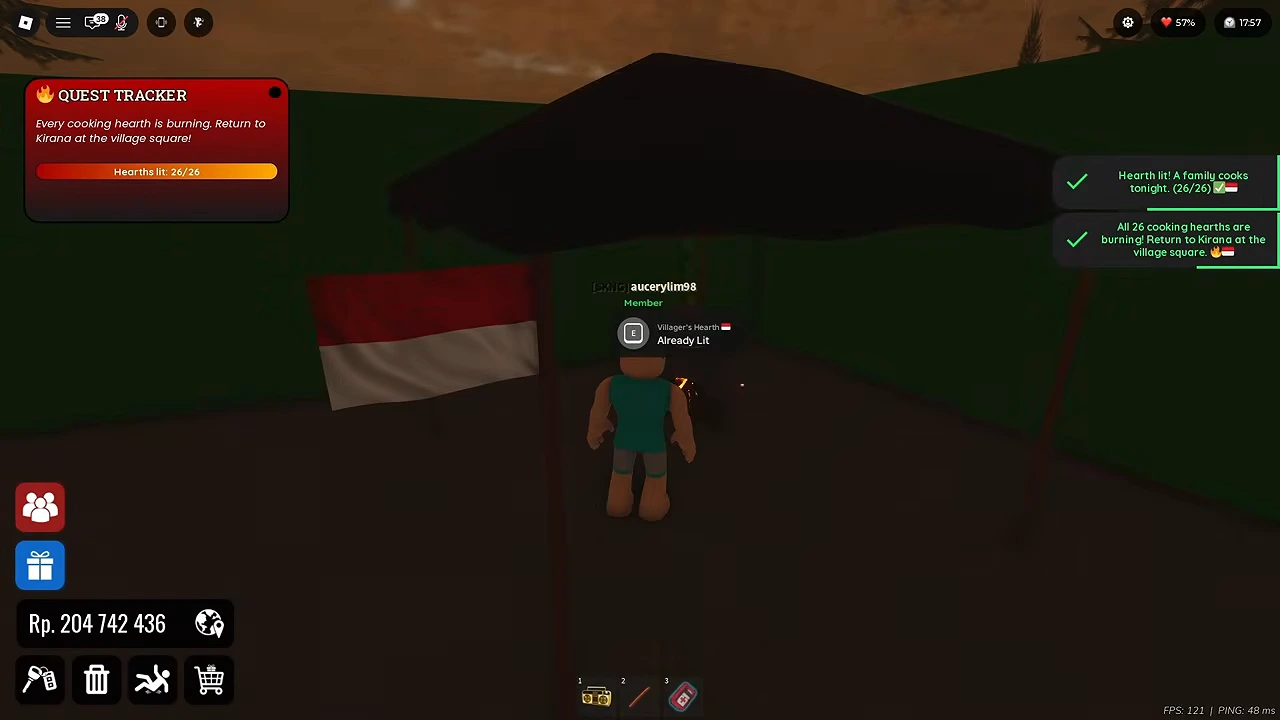
The last filmed delivery begins at 25/26 and changes to Hearths lit: 26/26. The tracker then explicitly requests a return to Kirana at the village square. Return to the same pavilion and speak with her to move the quest forward.
Use that changed objective as the completion check. A torch disappearing, reaching the last numbered video chapter or standing beside a hearth is less specific than the 26/26 result.
Complete the games and keep photos separate
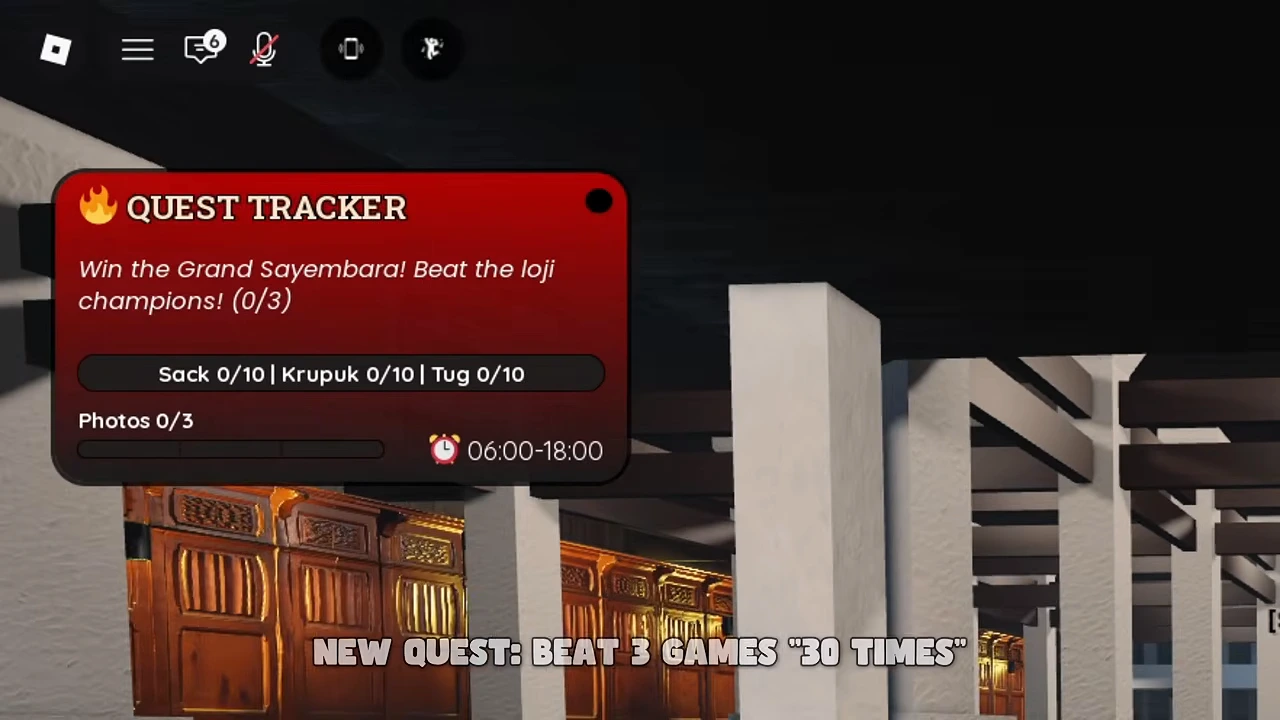
The next Grand Sayembara tracker requires Sack, Krupuk and Tug to reach 10 each, plus Photos 3. It shows 06:00–18:00. Approach the games’ registration areas and follow their own round prompts.
The recorded sequence visits the krupuk area, the sack-race and tug-of-war area, and photo pickups before returning to Kirana. The separate minigame guide supplies the locations and native prompts; repeated wins are edited, so one shown victory does not represent all ten.
Visit the old man, then dig beside the old tree
After the next conversation with Kirana, follow the recorded route to the NPC marked OLD MAN and complete his dialogue. The next objective concerns digging beneath the old banyan tree. Follow the route segment to the large tree in the walled area, approach the marked ground and use the digging interaction.
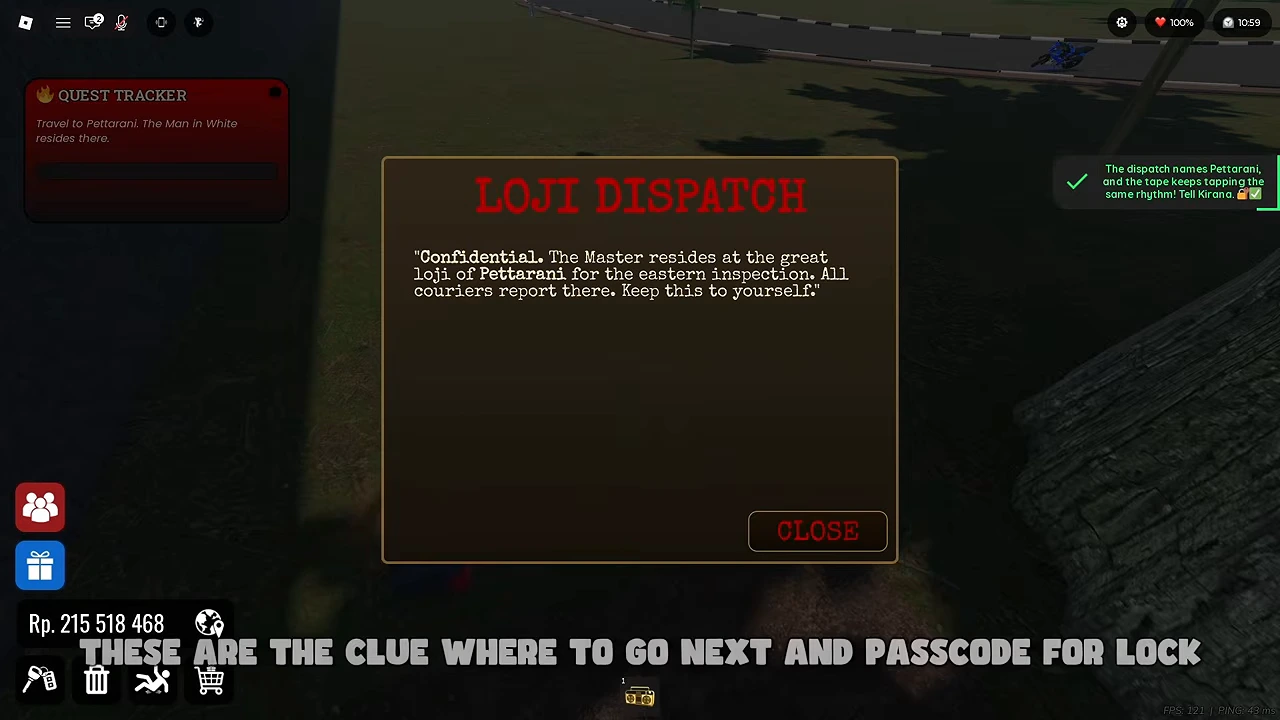
The resulting Loji Dispatch identifies Pettarani. The tracker changes to travel there, while a Loji’s Tape interface also becomes available. Read the newly obtained clue before leaving instead of trying the gate during an earlier quest stage.
Open the Loji gate in Pettarani
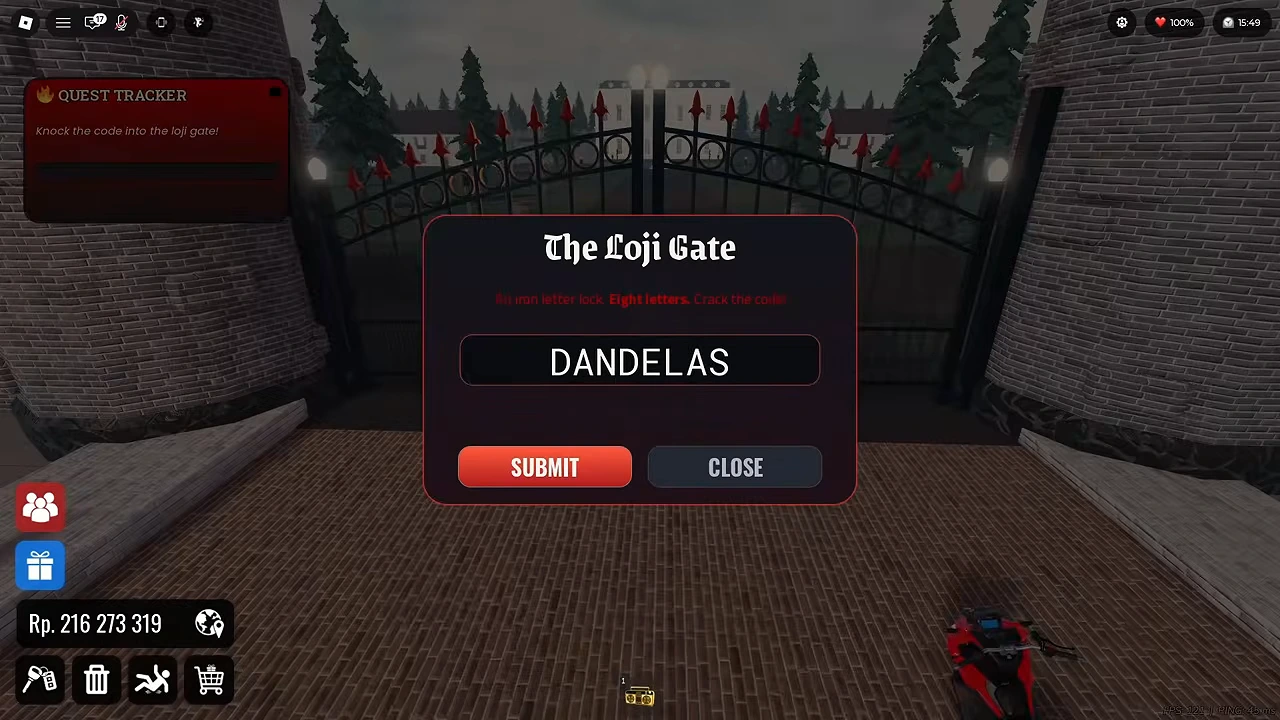
Continue to the gated compound shown in the linked route. At the locked entrance, The Loji Gate asks for eight letters. The recording enters DANDELAS and uses SUBMIT; the gate-opening animation and next objective follow.
This is the quest’s gate input. Entering the same text into the shop’s redemption box is a different action. If your objective has not reached the gate, finish the preceding clue stage first.
Follow the night-duel objective
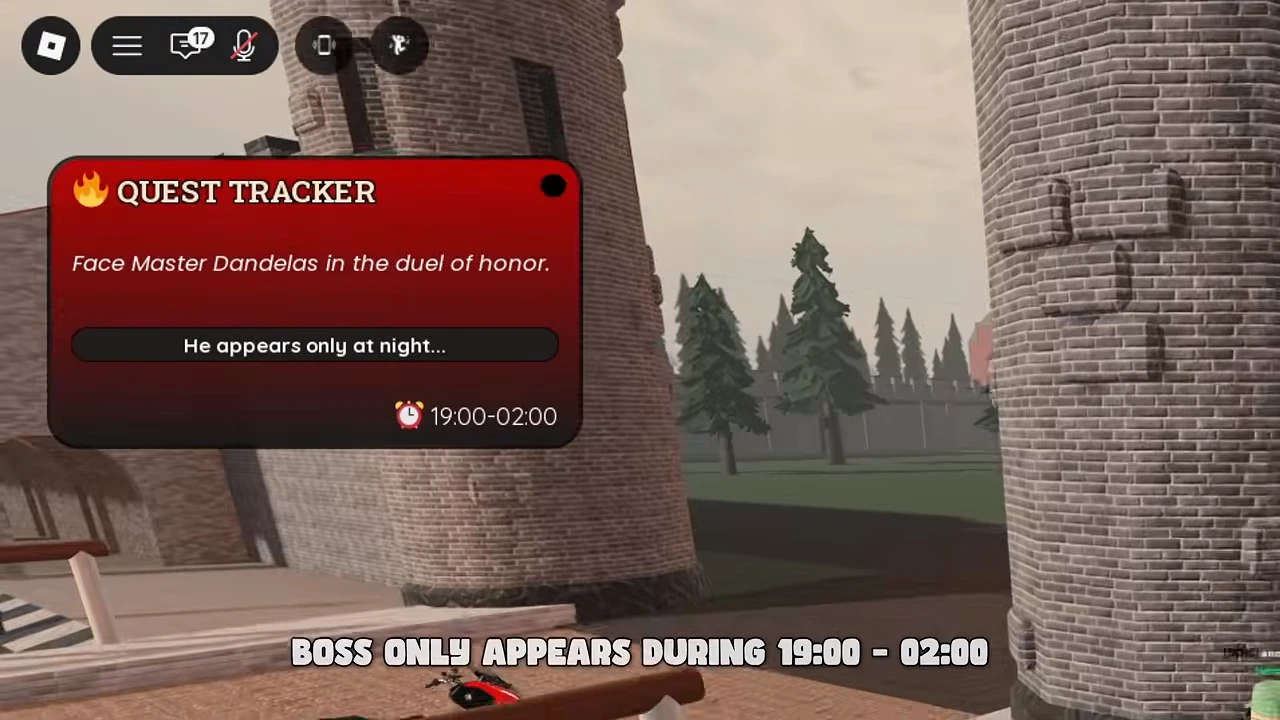
After the gate opens, the tracker names Master Dandelas and displays 19:00–02:00. Check the in-game time before looking for the duel; this is a daily in-game window, not a calendar event-expiry date.
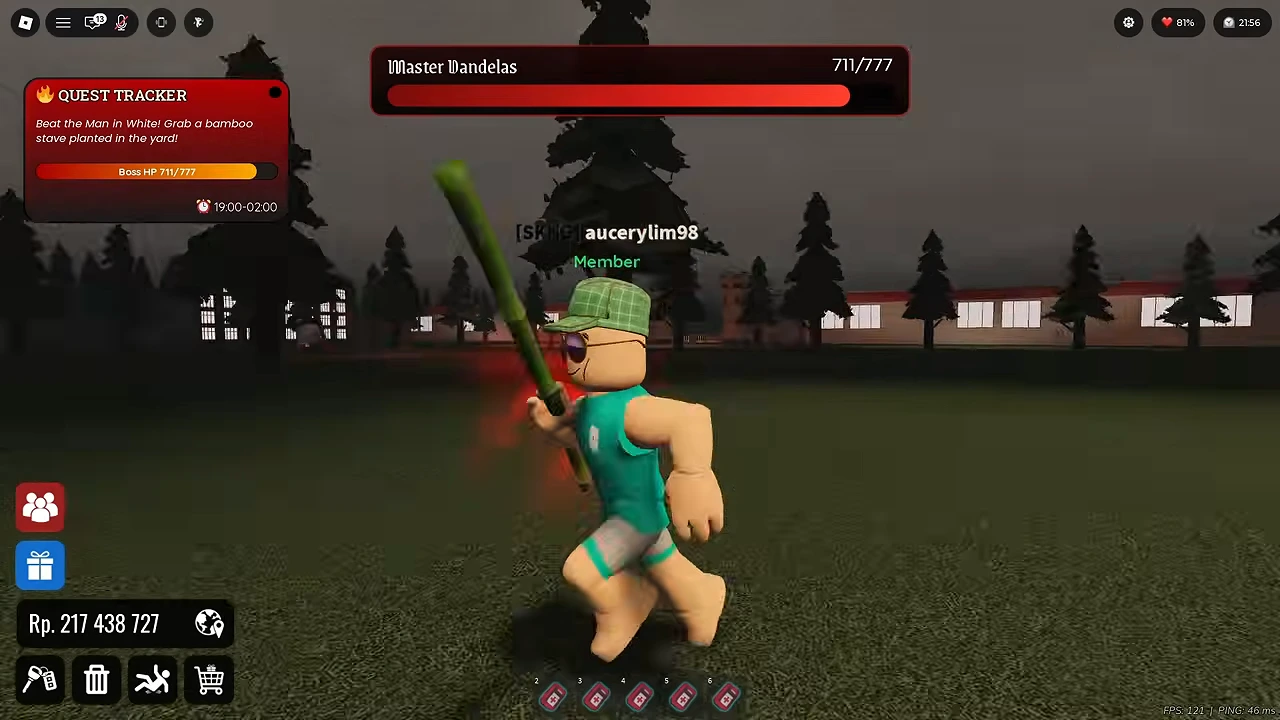
The duel objective tells the player to take a bamboo stave planted in the yard. The filmed fight shows the avatar holding and throwing bamboo, moving away between attacks and reducing the boss’s health. Use the yard’s bamboo and keep room to move instead of remaining beside the boss.
Continue until the tracker changes to the yielded-boss dialogue. The player takes damage and the video cuts over part of the fight; this is a route and weapon example, not a no-damage run or a tested fixed number of throws.
Read the ending choice and keep the result
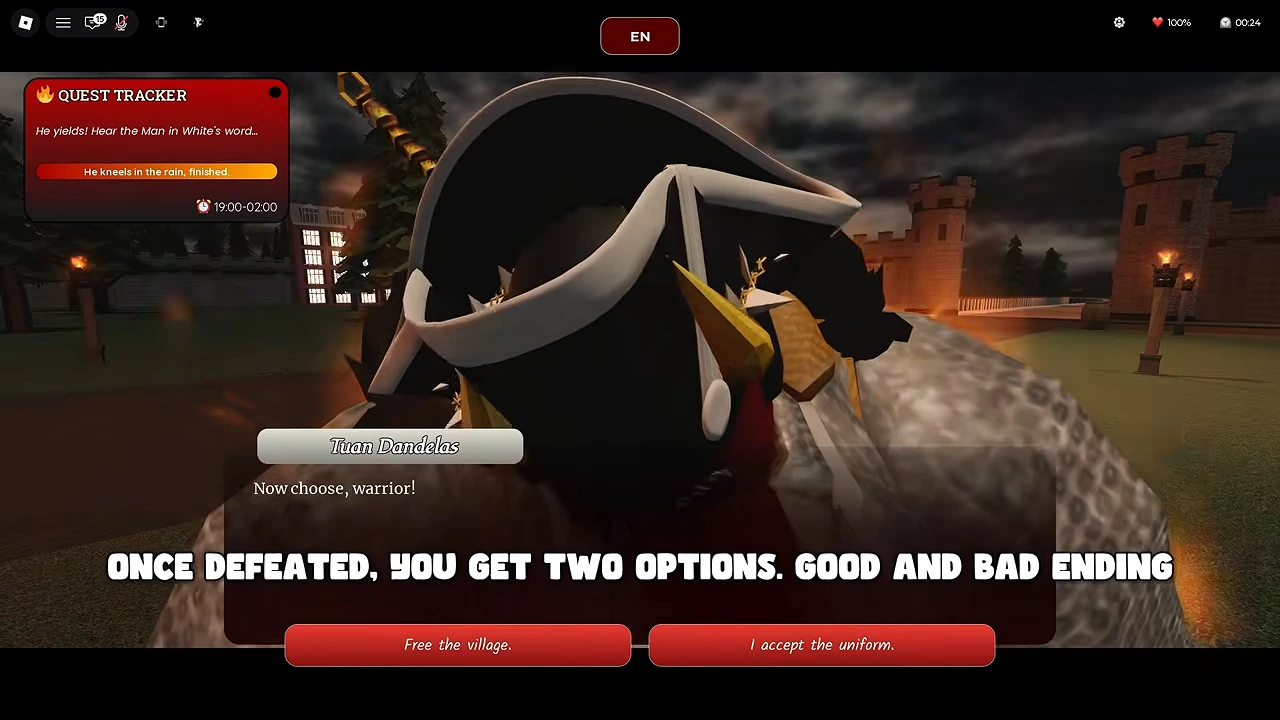
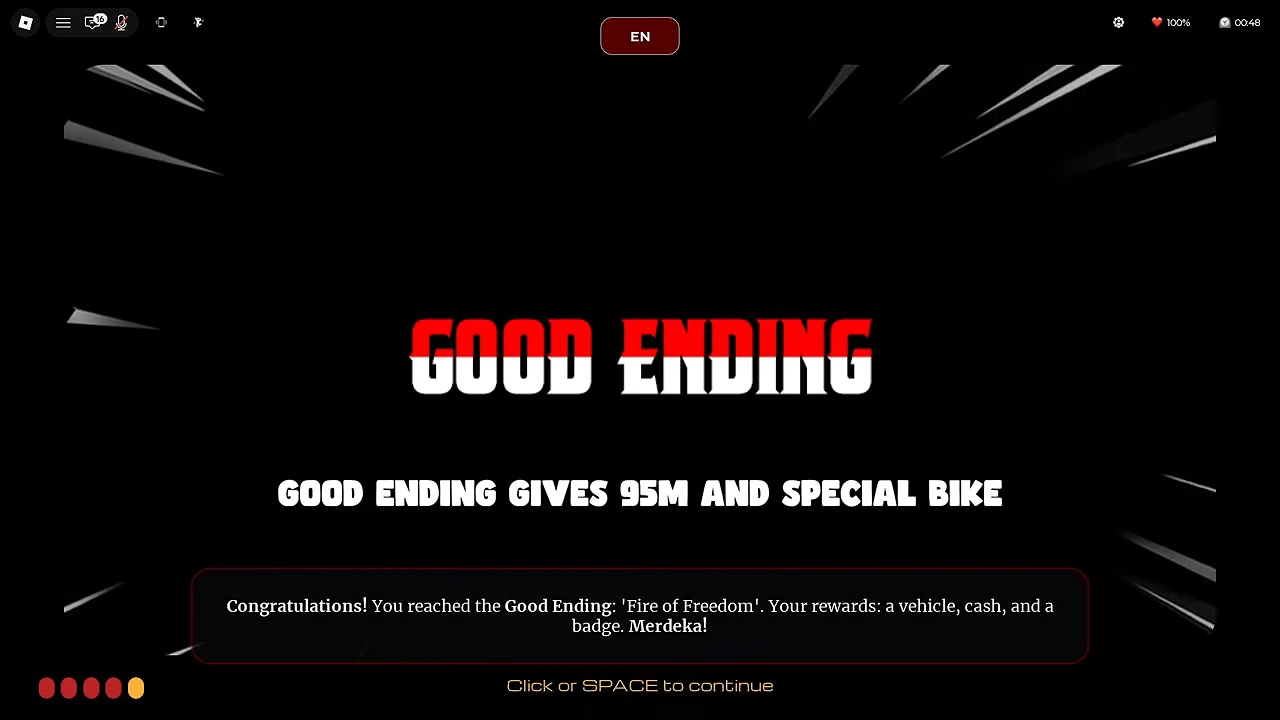
When the boss yields, the native dialogue offers Free the village and I accept the uniform. Read the branch you are accepting before choosing. The subsequent captured result identifies Good Ending: Fire of Freedom and lists a vehicle, cash and a badge as reward categories.
The video also edits to another ending result. It does not provide two uninterrupted fight-to-wallet reconciliations here, so this page does not supply an exact reward comparison, a verified reward-model identity or a replay requirement. Save your own result before leaving the session.